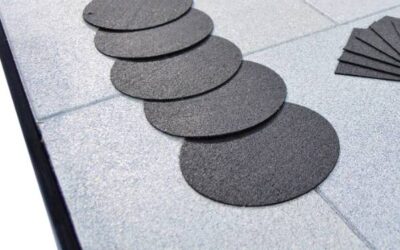
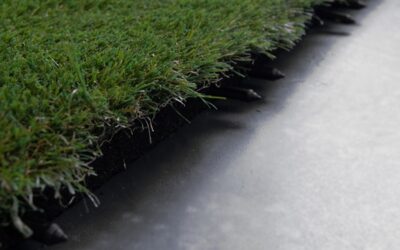
Experience unparalleled durability and eco-friendly design with the Cladcomposite PAD, engineered to protect and enhance your decking and tile installations.With a 200mm diameter and 3mm Ø circles, our PAD fits most pedestal systems seamlessly.Crafted from sustainable...
Explore Our Premium Range of Flat Roof Repair & Replacement Solutions
Flat Roof Supplies, GRP, Liquid, Rubber Kits
GRP Flat Roof leak repair kits & replacement options
Discover the ultimate in roofing innovation with our GRP flat roof repair & replacement products. Designed for durability and ease of installation, our kits provide everything you need for a flawless flat roof.
GRP Roofing Kits for Flat Roofs, GRP Roof Trims, Roof Repair Paints & liquid Roofing Systems
Everything for your next Fix is here
Begin by evaluating your roof’s condition to determine the best course of action, whether it’s repair, restoration, or replacement.
Repair over Felt, GRP, Metal & More
Restore GRP or Overlay Felt
Understanding Liquid Roofing Solutions
Outdoor Flooring Solutions
Thick Rubber Turf Tiles
Our rubber back Turf deck tiles provide a resilient and slip-resistant surface, perfect for enhancing safety and comfort in outdoor areas.
Interlocking Patio Pavers
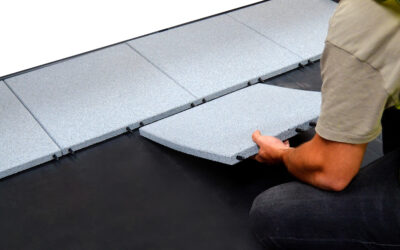
These easy-to-install interlocking pavers offer a stylish and durable solution for patios, ensuring a seamless and attractive finish.
Weatherproof Balcony Mats
Designed to withstand the elements, our balcony mats deliver excellent protection and aesthetic appeal for any outdoor space.
Comprehensive Roofing Solutions
At Composite Roof Supplies, we specialise in providing top-tier solutions for all your roofing needs. Our expertise in GRP and Liquid roofing ensures that you receive the highest quality materials and guidance for your projects. Whether you’re tackling a small repair or a complete roof replacement, our comprehensive range of products and services is designed to meet your specific requirements.
Roof repair is a crucial aspect of maintaining the integrity of your home or business. Our advanced repair kits and materials are engineered to deliver long-lasting results, ensuring your roof remains leak-free and durable. With our expert advice and high-quality products, you can confidently address any roofing issues that arise.
Restoring your roof can breathe new life into your property, enhancing both its appearance and functionality. Our restoration systems are designed to seamlessly integrate with existing structures, providing a cost-effective and efficient solution to extend the lifespan of your roof. Experience the transformative power of our restoration services and enjoy a roof that looks and performs like new.
When replacement is the only option, Composite Roof Supplies offers a range of innovative solutions to ensure a smooth transition. Our replacement GRP kits are tailored to your specific needs, providing everything required for a successful installation. Trust our expertise to guide you through the process, from selecting the right materials to completing the installation with precision and care.
Flat Roof Protection: Rubber Matting & Flooring Solutions
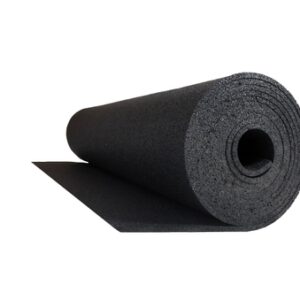
Our Rubber Matting & Flooring collection offers durable, versatile protection for a wide range of surfaces. Designed to withstand heavy foot traffic, equipment, and environmental conditions, our rubber mats provide essential protection for floors, roofs, and workspaces. Whether you’re looking to safeguard high-traffic areas, enhance safety with slip-resistant surfaces, or protect insulation and membranes, our rubber products offer reliable, long-lasting solutions.
From heavy-duty mats for commercial use to gym flooring and outdoor applications, our range is designed to meet the toughest demands. With exceptional durability, slip-resistance, and noise-reduction properties, our rubber matting ensures the longevity of your floors and surfaces while providing comfort and safety. Browse our selection today to find the perfect fit for your project or space.
How to Install Your GRP Roofing Kit
Step 1: Gather Your Materials
Explore the benefits of using OSB3 boards for your fibreglass roofing projects. Ensure a seamless and long-lasting finish with our expert guidance.
Step 2: How to Fit GRP Trims
Discover the essential steps for a seamless GRP trim fitting experience, ensuring durability and precision for your roofing projects.
Step 3:How To laminate Tapes
Discover the essential techniques for achieving flawless lamination results with our comprehensive guide. Woven tape install
Explore Our Latest Additions
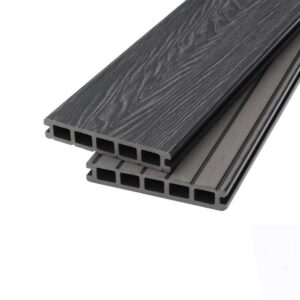
Eco-Friendly Decking Boards
Sustainable Style for Your Outdoors
★★★★★
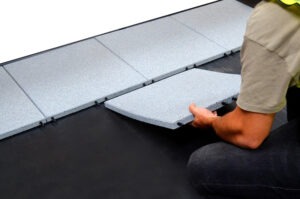
Durable Balcony Tiles
Enhance Your Outdoor Space
★★★★★
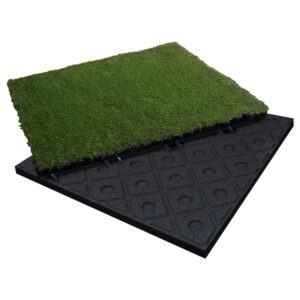
Weatherproof Lawn Tiles
Perfect for All Seasons
★★★★★
Protect Your Roof Today
Don’t wait for a small leak to become a big problem. Secure your home with our top-quality roofing solutions. Explore our range of products designed to keep your roof in peak condition.
Latest News
Top Benefits of Promenade Tiles for Flat Roofs
The Top Benefits of Promenade Tiles for Flat Roofs, Terraces, and Walkways When choosing outdoor flooring, promenade tiles are an excellent choice for a range of applications. Whether you are working on flat roofs, terraces, balconies, gardens, or walkways, these...
The Benefits of Artificial Lawn Turf Tiles
Experience the perfect blend of beauty and functionality with our premium artificial lawn turf tiles, designed to elevate any outdoor space with minimal maintenance.Our turf tiles mimic the look and feel of real grass, providing a lush, green landscape all year round...

