How to fix an EPDM roof, follow these steps:
A basic guide on how to fix an EPDM roof using a patch repair
If you need to fix a small tear or puncture in an EPDM roof, a patch repair is a simple and effective solution. Here is a basic guide on how to perform an EPDM patch repair:
- Clean the damaged area: Clean the damaged area of the roof thoroughly with soap and water, and allow it to dry completely.
- Cut a patch: Cut a piece of EPDM membrane that is slightly larger than the damaged area.
- Apply primer: Apply a primer to both the damaged area and the patch, using a brush or roller. Allow the primer to dry completely.
- Apply the patch: Apply the patch to the damaged area, using a solvent-based adhesive. Make sure to press the patch down firmly to ensure a good bond.
- Seal the edges: Use a solvent-based adhesive to seal the edges of the patch to the surrounding EPDM membrane. Allow the adhesive to dry completely.
- Inspect and test: Inspect the repaired area and test it by spraying water on it to make sure it is watertight.
It’s important to note that if the damaged area is larger than a few square feet or if there are multiple damages, it is recommended to consult a professional roofing contractor to assess and repair the roof.
In conclusion, fixing a small tear or puncture in an EPDM roof is a simple and straightforward process, provided the repair is made promptly and properly. The steps outlined above will help you perform a successful EPDM patch repair.
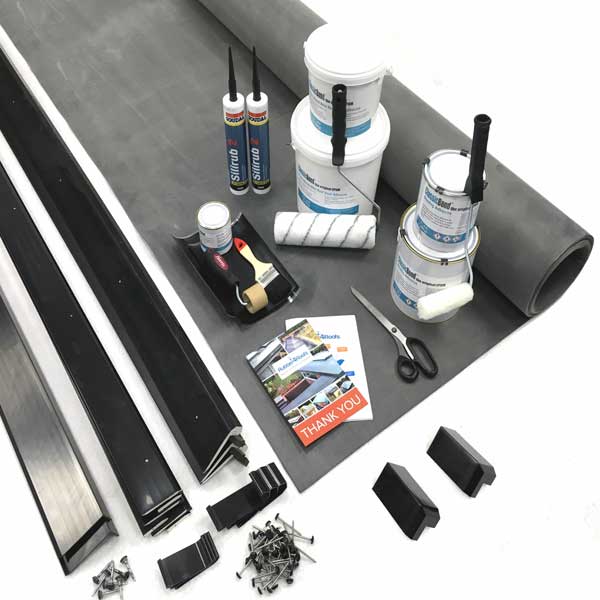
Need to order a new roof? try our kit builder below


